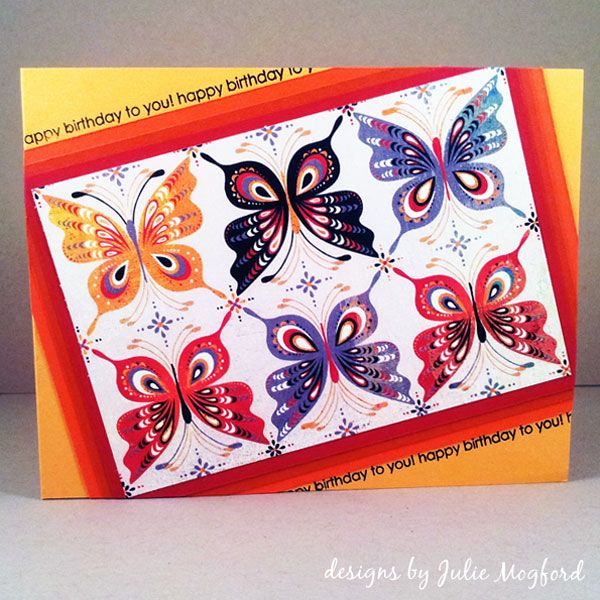
So, I get up early to see what the challenge was for day 5 of Online Card Classes - Summer Card Camp 2. I love color challenges. I looked through our choices and picked this one.
As I am looking through my supplies (yes my Basic Grey collections are begging to be used instead of sitting on the shelf) and I find Ambrosia - Winsome. Guess what - I think I might be color blind!!! I shouldn't joke, but the color combo above is NOT the color combo of the paper I chose. And, of course, I didn't realize it till I was all done. But, I do love the card. I had filmed a video for you, but the lighting wasn't very good, so I will just take you through the steps here.
1. Cut pattern or design for front of card. Then for the ombre of colors, cut them in quarter inch increments larger for each color. My dimensions were:
image: 3.25 x 4.75in
red: 3.5 x 5in
burnt orange: 3.75 x 5.25in
orange: 4 x 5.5in
card: 4.25 x 5.5in
2. Glue the image and cardstock colors, centering them on the next larger item.
3. Glue the panel to the card at a diagonal using enough adhesive to make contact with card where corners go off the edge.
4. Using strong scissors (I used my Tim Holtz Tonic scissors), but the image panel corners that hang over the edge of the card. I turned my card over to see where I was cutting and cut slowly for a clean cut. The paper will be thicker, so these scissors were great.
5. Stamp thin line sentiment in black in along diagonal edge of image panel.
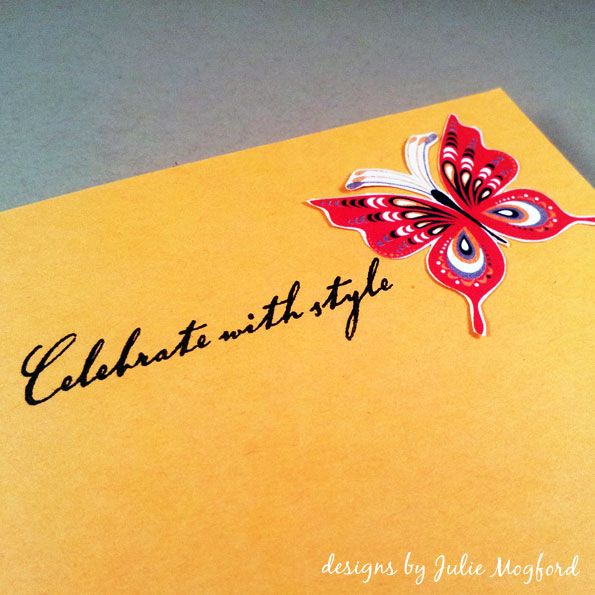
6. Stamp additional sentiment inside of card.
7. Cut one butterfly from extra pattern paper and glue to inside of card.
Supplies
Stamps: Around and About sentiments (Papertrey Ink), Birthday greeting on inside (Hero Arts)
Ink: Versafine Black Onyx (Tsukineko)
Paper: Cardstock (Stampin' Up!), Winsome / Ambrosia (Basic Grey)
Additional items: Scor-Pal, Tombow tape runner, Tim Holtz scissors (Tonic)


No comments:
Post a Comment