Happy Monday, everyone! Today I'm playing along in a Creative Blog Hop! After all of these years, I can't believe I'm participating in my first hop of this kind. I always enjoy reading these on other crafter's blogs, but this time, I will be sharing a bit about me, and then celebrating a few ladies I've come to know in the online crafting world. I'm so excited!
First, I want to let you know that I was invited to this hop by a dear sweet friend of mine named
Melinda Miller (but I call her Mindy) and she wrote a very nice intro about me and two other artists, plus answered a few design questions too. You can check out her blog post
here. I have known Mindy for years and we first met shortly after I moved to San Antonio . She worked at
Stamp Antonio, a local craft store carrying stamps, inks, papers, and so much more. I always enjoyed walking in to the store, and being greeted by Mindy's cheerful voice and spending time looking at all of the new products, especially
Hero Arts and
Amuse stamps (back when they were in stores). We would also attend workshops held in the store and get time together to enjoy crafting, plus we were also in an ATC group, headed by my
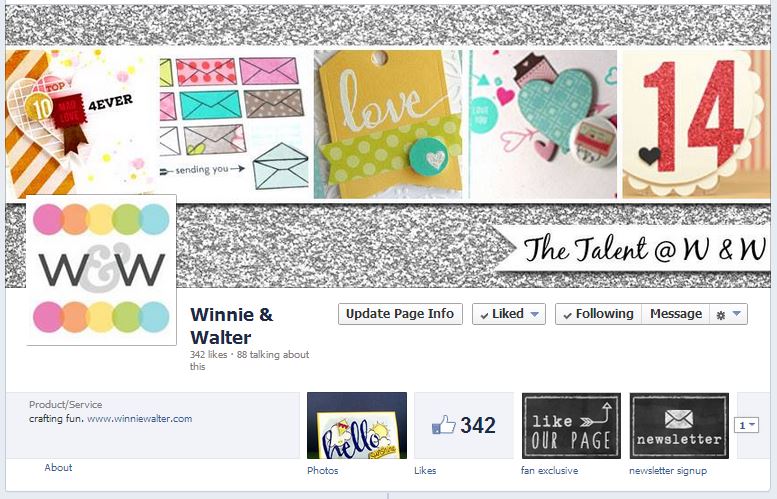
winnie & walter co-owner, Shay.
Mindy also introduced another artist in her post that I met at the same time -
Carrie Avery. Carrie, her sisters and mother were the heart and soul of Stamp Antonio back when I first started shopping there (conveniently located near where I work *wink*). Many a Wednesday night and Saturday have I spent there learning from Carrie and her sisters about inks, crafting techniques, and making some of the cutest projects on the planet. Carrie is so talented and I have learned so much from her. She started her own company,
Paper Wings Productions. This store carries both clear and red rubber cling stamps, clip art sheets and mixed media products, and sells monthly kits too! Shay and I have both designed stamps for Carrie's product line, so this company has a special place in my heart. I wish Carrie continued success with her company and with her art workshops.

Creative Hop Questions:
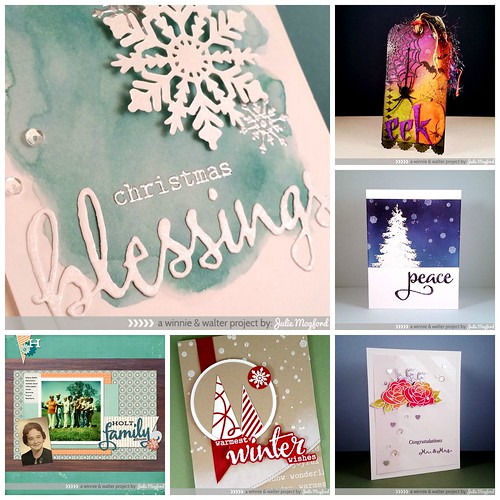
1. What am I working on right now? Currently we just released 9 new stamp sets, 4 new dies sets called Cutaways and 19 new stencils called Creative Screenings. Plus, I'm working on new designs for upcoming releases. I still create projects for our winnie & walter releases but haven't been posting them here. I have a few things brewing at the moment and hope to start revealing them here on my blog soon.
2. How does my work differ from others in my genre? This is a tough question! I will admit that I have a few original moments in my creations, but I really am inspired by what I see others create. I try to include dies as a featured element on my cards lately, and not necessarily the stamps, but I think that is just me pushing myself to take a step away from what I usually do. I like to challenge myself like that.
3. Why do I create what I do? I've always loved crafts, from projects at school, in Girl Scouts, with my Mom or my Grandmother. I find that I look at art and at first look I'm seeing the beauty, but then my mind starts to look at it and think, "how did they do that?", which then leads to "I want to make that too". This feeds my soul. (I see myself doing it in my technology teacher world too.) In my adult crafting years, I started with scrapbooking with Creative Memories products, but as much as I love scrapbooking, I wanted immediate gratification. Then I started stamping and became a Stampin' Up! demonstrator for a short time, but when I moved, I couldn't find a client base. I kept stamping and creating because I loved making cards and little projects for people. I can remember looking at stamps and thinking how cute they were and also wishing the sets included something extra that wasn't there. I don't think I ever thought that I would start a stamp business, but it is amazing to be part of this world in this way. So, I create what I do to make myself happy (feed my soul) and to give others something that makes them happy too! It's about love!
4. How does my creative process work? Oh my! Usually, too much time on Pinterest! LOL I see so many things on there that give me inspiration, and then, I spend so much time, I don't get any crafting done. :) For designs - usually starts with some brainstorming with Shay, and then lots of drawing. For cards, scrapbooking and art journaling, it could start with a product I have been hoarding, some art or project on Pinterest or a blog, or a sketch or color combo. I'm messy - so messy! I tend to let things pile up on the desk, and then some projects evolve based on what is now on my desk. While I'm crafting, I can usually be found singing along with my favorite Pandora radio stations or watching/listening to ony of my many favorite romantic comedies.
Enough about me! Now, I would like to introduce you to some of my new creative friends that I have met online this year. They are lovely ladies, and super talented! Here is a brief intro about each of them. But, there is a catch - all of these lovely ladies have already participated in this Creative Blog Hop prior to my invitation. I'm must be a little late to the game!. LOL So, I have links to their recent responses to share with you today. This will most likely close the loop on my end, but the bonus is that you can learn about their favorite artists too since they have already responded. You are in for a shower of creativity and inspiration. Let's get started!
First I have
Shirley Bampton. What a lovely lady! I first saw Shirley's talents when she submitted creations using winnie & walter products and WOW, let me just say that she is such a clever artist. I love the ideas she comes up with! She has been a guest designer for w&w in June and in October, and is on several design teams and has won numerous awards for online challenges. I'm a huge fan of her projects that have a watercolor look to them, and boy can she do fabulous things with stencils! Be sure to check out her post
here!
Another of my favorites is
Lea Lawson. Lea is a wedding and engagement photographer and an amazing paper crafter. When I see a project from Lea, I am struck by the way she brings her elements together, and sit in awe. Then, I'm also in love with how her projects are photographed. Lea, I could use some tips in both of these areas! Currently, she is on the w&w design team, as well as My Mind's Eye and Lil' Inker Designs, but has been on many other fabulous teams in the past. Some of my favorite styles from her are when she does white on white, or projects with an ethereal look. She is so sweet and talented. Check out her post
here!

When Mindy asked me to join in on the blog hop, I have to admit that
Suzanne Dahlberg was the very first person I thought of to add to this talented list of artist / crafters. Suzanne is a cancer researcher by day, and super cute paper crafter in her spare time. She was a design team member for w&w in the very beginning, and now she is on the Waffle Flower design team and is a "free agent" for us, meaning she could drop in from time to time to share her talents using w&w products! We became fast friends, and I enjoy keeping up with her by email. I love her use of color and her sweet and fun card style. Check out her post
here!
Five fabulous artists you must check out (and their picks too)! I hope you enjoyed hearing a little more about me and a little about them too. If you haven't joined this blog hop, I hope you will jump in and tell me a little more about you and share a post about your favorite artist/crafters too.
until next time....
Julie
edited to add:
So sorry the photo links were broken.....now you can see these lovely ladies! - Enjoy!