Pages

Showing posts with label birthday. Show all posts

Friday, July 19, 2013

Summer Card Camp 2 - Day 5: Butterfly Birthday - New Color Challenge


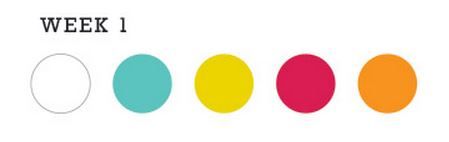
So, I get up early to see what the challenge was for day 5 of Online Card Classes - Summer Card Camp 2. I love color challenges. I looked through our choices and picked this one.
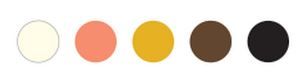
As I am looking through my supplies (yes my Basic Grey collections are begging to be used instead of sitting on the shelf) and I find Ambrosia - Winsome.  Guess what - I think I might be color blind!!!  I shouldn't joke, but the color combo above is NOT the color combo of the paper I chose.  And, of course, I didn't realize it till I was all done.  But, I do love the card.  I had filmed a video for you, but the lighting wasn't very good, so I will just take you through the steps here.
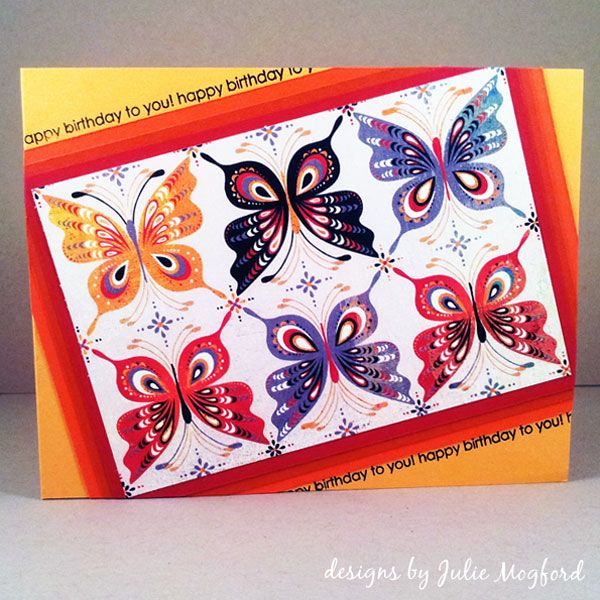


1. Cut pattern or design for front of card.  Then for the ombre of colors, cut them in quarter inch increments larger for each color.  My dimensions were:
          image: 3.25 x 4.75in
          red: 3.5 x 5in
          burnt orange: 3.75 x 5.25in
          orange: 4 x 5.5in
          card: 4.25 x 5.5in

2. Glue the image and cardstock colors, centering them on the next larger item.
3. Glue the panel to the card at a diagonal using enough adhesive to make contact with card where corners go off the edge.
4. Using strong scissors (I used my Tim Holtz Tonic scissors), but the image panel corners that hang over the edge of the card.  I turned my card over to see where I was cutting and cut slowly for a clean cut.  The paper will be thicker, so these scissors were great.
5. Stamp thin line sentiment in black in along diagonal edge of image panel.
6. Stamp additional sentiment inside of card.
7. Cut one butterfly from extra pattern paper and glue to inside of card.
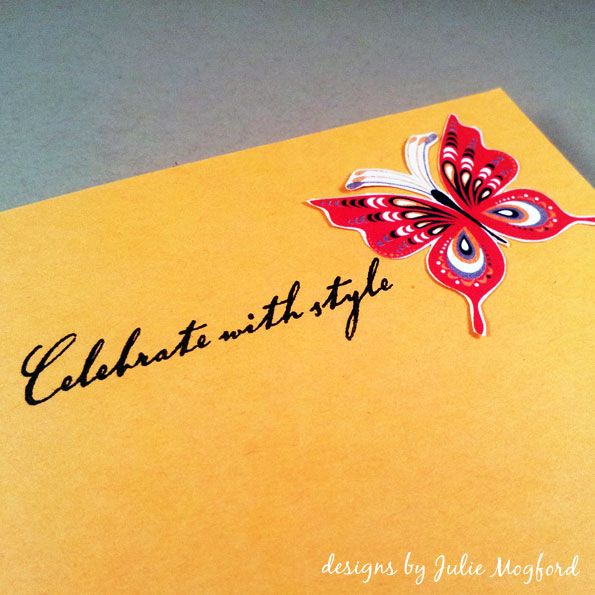


What I love about this card: The butterflies in the grid pattern on the diagonal - nice! An ombre of bright warm colors definitely feels like summer.  I liked the tiny word sentiment that I was able to fit so close to the edge of the stacked cardstock - I think it sets it off nicely.

Supplies

Stamps: Around and About sentiments (Papertrey Ink), Birthday greeting on inside (Hero Arts)
Ink: Versafine Black Onyx (Tsukineko)
Paper: Cardstock (Stampin' Up!), Winsome / Ambrosia (Basic Grey)
Additional items:  Scor-Pal, Tombow tape runner, Tim Holtz scissors (Tonic)

Summer Card Camp 2 - Day 3: Cupcake Birthday Banner


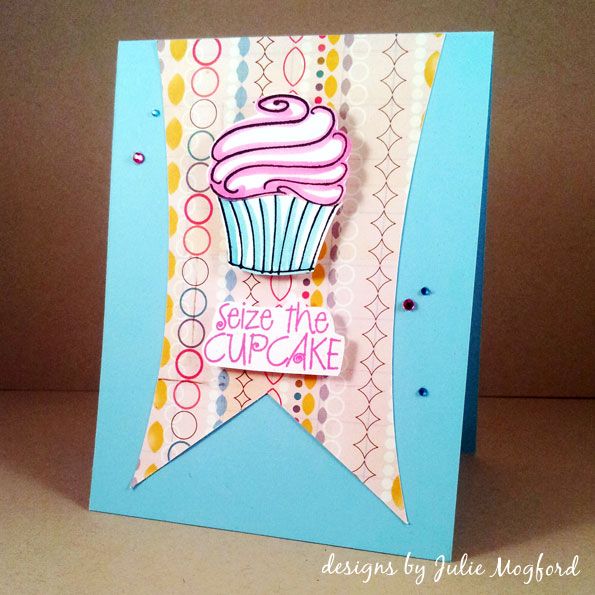
Today I have a fun birthday card based on a sketch from the Online Card Classes - Summer Card Camp 2.  It includes a rectangular banner, and I found one in my Silhouette shape library. Yea!  I wanted to use a cupcake for this card, and I found several in my stash from Hero Arts.

For your viewing pleasure:


What I love about this card: The pattern paper reminds me of paper chains my mom made last year for my sister's baby shower. The stamping is easy, and my mistakes were easily hidden. And last, but certainly not least, I love a little bling, and this time it adds to the "party" mood taking on the appearance of confetti.  Adorable!


Supplies

Stamps: Cupcake stamps and sentiment (Hero Arts), Have a delicious birthday! (Rubber Soul)
Ink: Versafine Black Onyx (Tsukineko), Distress Ink in Picked Raspberry and Tumbled Glass (Ranger)
Paper: Cardstock (Stampin' Up!), Abroad (Studio Calico)
Additional items: Aquamarker (Letraset), Banner cut (Silhouette), Scor-Pal, Tombow tape runner, Recollections foam adhesive.


Thanks for dropping by!


Julie

Tuesday, March 26, 2013

Playing with Patterned Paper

Hello all!

I have a little card to share with you.  I just participated in one of the great classes over at Online Card Classes  called Pattern Play.


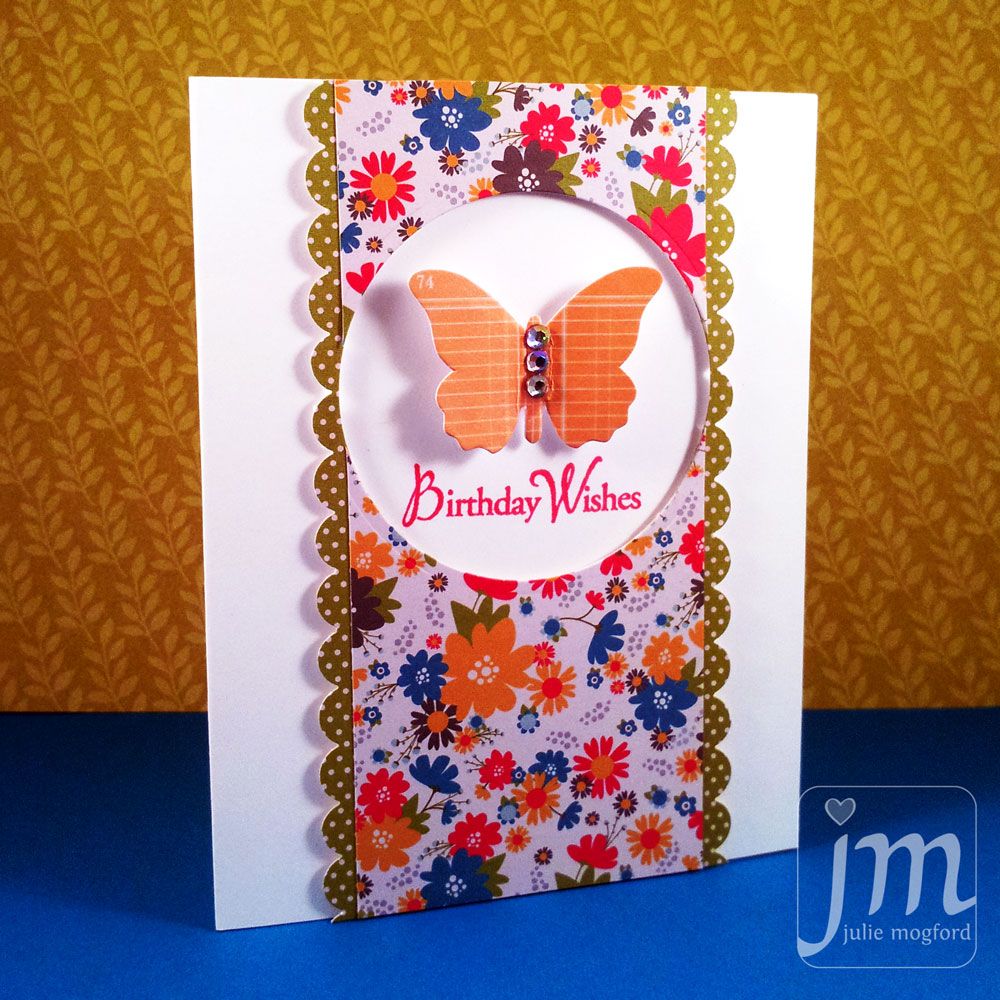
I was inspired to create this card from a layout that was demonstrated by Amber Kemp-Gerstel. Here is my version.


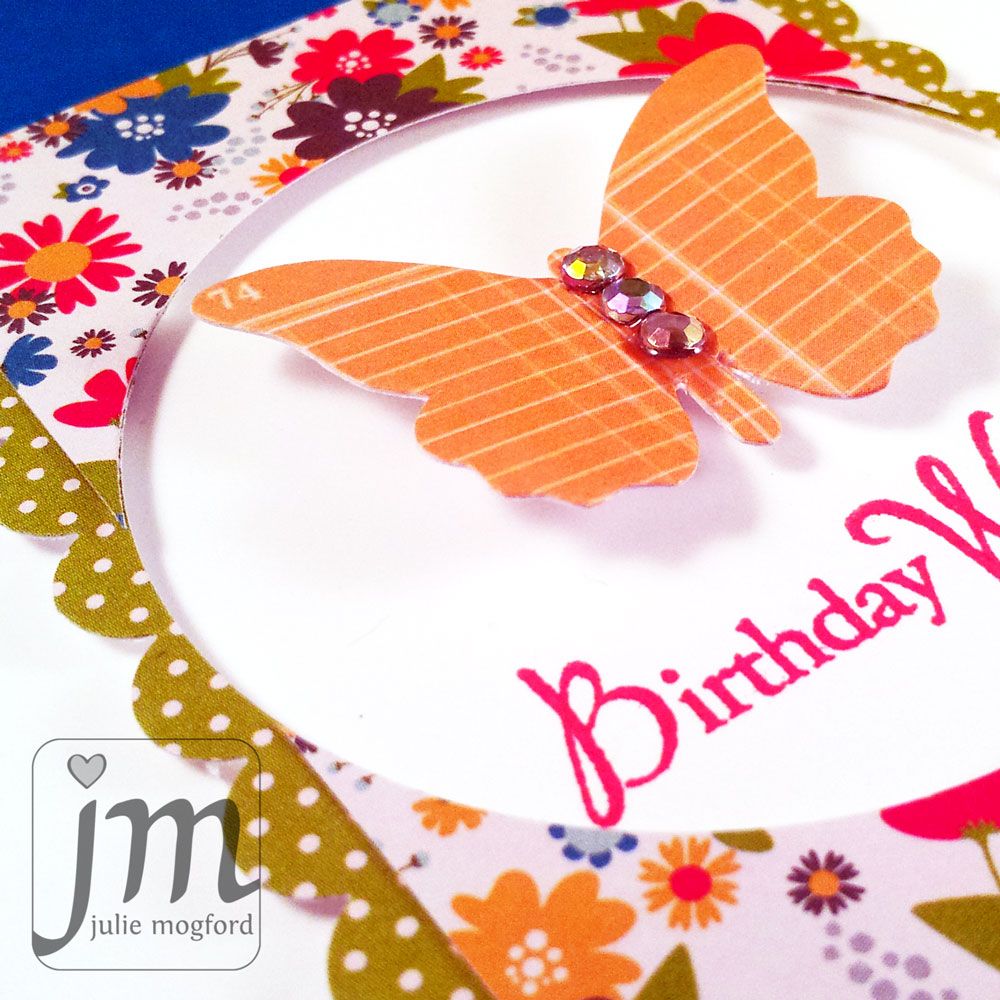
There are so many things I like about this card.  The panel with a window is something I have tried before, but this version is a bit different, especially with including the border strip.  Everything is up on foam adhesive, and I love how that accentuates the elements.


I challenged myself to use a pattern that I wouldn't normally go to.  I liked this floral, but had passed it over several times before. The green and white polka makes a good border and I looked for something to use as the central element.  I remembered I had all of my Jenni Bowlin butterfly stickers (can you believe it?) and they just happen to be the same shade of yellow as the flowers in the paper and the pattern is subtle, and almost reads as a solid. The addition of the sentiment with Barn Door red ink completed the look.  I like that it is fun, and its also a clean look.


I made this card for my Aunt Carla for her birthday and I think these colors remind me of her.  I hope she likes it!  I was amazed at how out of practice I was in making cards.  It seemed to take me forever, mainly because I look through all of my papers and embellishments.  My hoarding came in handy but also slowed my pace.  I do know this - I had fun getting back into my craft space and spending some time doing something that gives me so much enjoyment. 


Card supplies
Stamps: Hero Arts "Birthday Wishes"
Ink: Tim Holtz Distress Ink - Barn Door
Paper: Pebbles - Seen & Noted
Other: Jenni Bowlin Butterfly, Circle Nestabilities by Spellbinders
 
That's all for today.  Thanks for stopping by!
 
Julie
 

Tuesday, September 11, 2012

Hot Air Balloon Birthday!

Hello everybody!
 
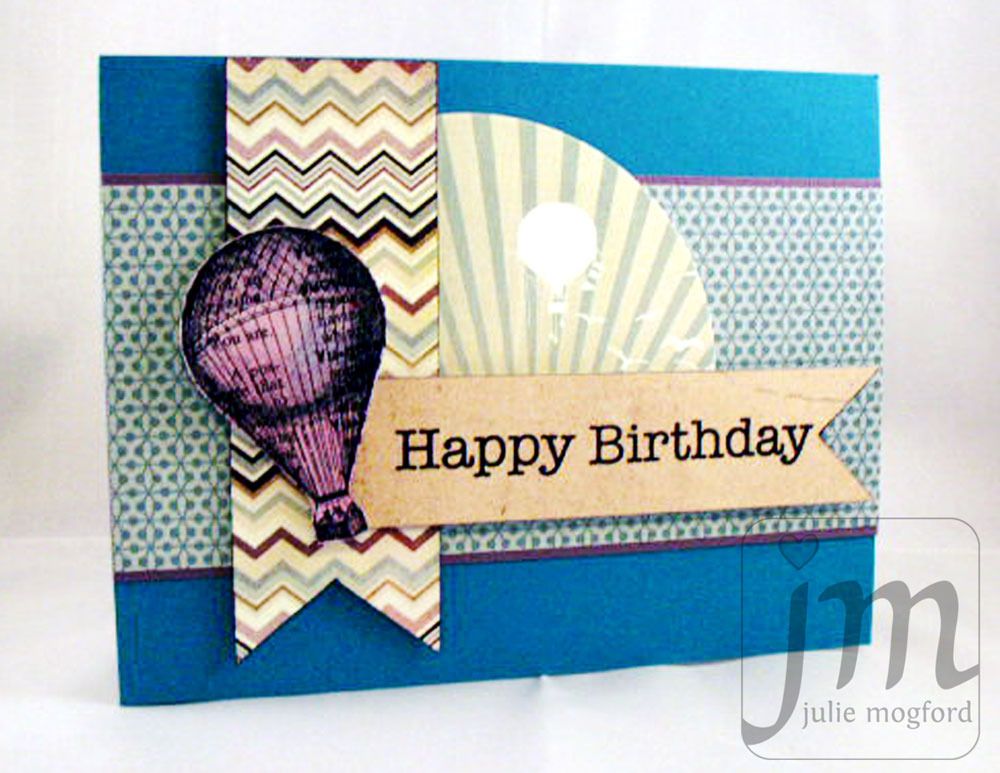
It's been WAY too long since I have posted, but I'm back and happy to be blogging again!  I'm sharing a card today that I made for my Dad!  His birthday was Monday, but alas, I am still holding his birthday card.  I'm going to get it in the mail tomorrow, but just had to take a quick photo and show it off a little.  I had several supplies on my desk that were just begging to be used, and I found a cute layout on Splitcoast that I modified slightly. 


All of the patterend papers are from Basic Grey, and even thought they are not all from the same set, they still seem to work together. The stamp is from Hero Arts, and I stamped it on dictionary paper that I sprayed with ink to give it a slightly different look. I like how it mimics the sky paper with it's hot air balloon flying high as well. I really love the chevron pattern here especially because of the varyied thickness of the lines. I think he will really like this card, and it makes a great theme for a guy.  The colors and patterns are fun!


Thanks for stopping by!  Happy Stamping!

Julie


Supplies:
Stamps - Hero Arts "Past Times" and Birthday sentiment set
Ink - Memento Tuxedo Black
Patterned Paper - Basic Grey "What's Up?" and "Clippings"
Cardstock - Stampin' Up!
Other - cuttlebug, spellbinders circle, Glimmer Mists in Dewberry and Electric Blue