Pages

Showing posts with label challenge. Show all posts

Friday, July 19, 2013

Summer Card Camp 2 - Day 4: Time Challenge "Hi"


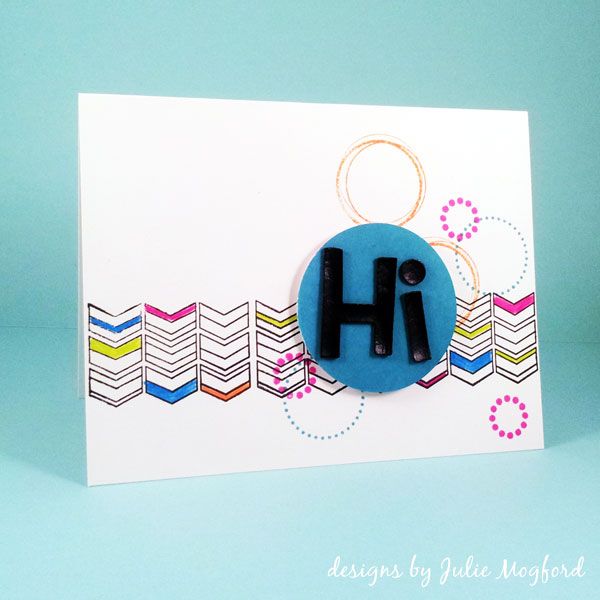
In the Online Card Classes - Summer Card Camp 2 , our challenge was to make a card in 10 minutes.  My husband won't believe this when he sees it, but I made a card in under half an hour.  I went over a little, but not too much! LOL


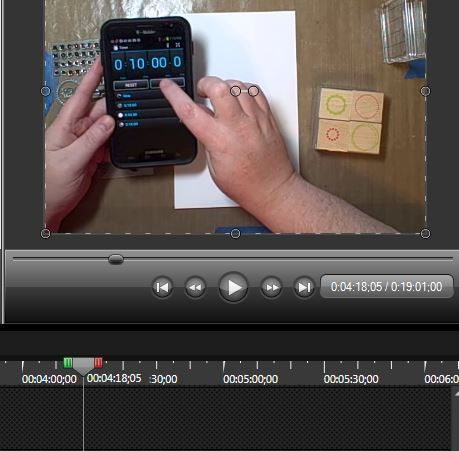
I went into my video editing program and took this screenshot.  I talked a lot at the beginning of the video which I cut most of that off.  Here is the mark where I set the 10 minute timer - the total video was 19:01 and I get to take 4:18 off of my time for babbling. That puts me at 14:43.  If I had gotten my ink and tested it earlier, I could have shaved even more time.  So YEA for me :)  FYI: I did the math on my time here.  Since my video was a little longer than 10 minutes, I am sharing it from Vimeo today.

For your viewing pleasure:

10 minute hi from Julie Mogford on Vimeo.

What I love about this card: Bright colors, bold sentiment, on trend chevron design - love love love!  And, can I just say, 10-ish minutes???  LOVE THAT!


Supplies

Stamps: Exclusive: Summer Stamp School (Studio Calico), Layering Circles (Hero Arts)
Ink: Versafine Black Onyx (Tsukineko), Distress Ink in Broken China, Picked Raspberry and Spiced Marmalade (Ranger)
Paper: Neenah Cardstock
Additional items: 2inch Marvy punch, Prismacolor Pencils, Thickers (American Crafts), Scor-Pal, Tombow tape runner, Recollections foam adhesive.


It's nice to be exercising my creative muscles again!


Sunday, March 31, 2013

Moxie Fab - Chevron Challenge

Hello again!

Don't you just love a long weekend?  I know I do!  I was so glad to have the time to work on some challenges over at Moxie Fab World.  This is the first one I attempted - The Chevron Challenge.  I don't usually have time to work on card challenges, but I'm going to be making more time in the future. This was fun, and it makes me stretch my creativity.

Here is the sample to get us started:


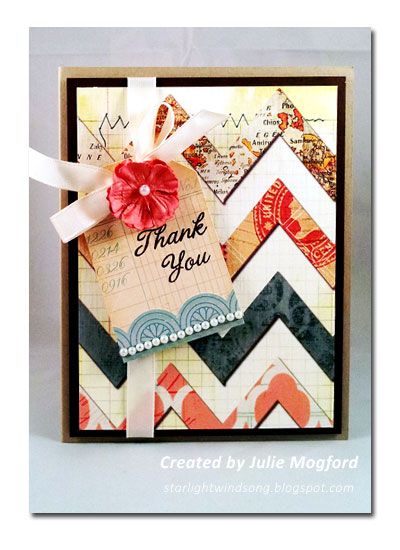
This is my version!


I'm still working on trying to use products that are already on my desk, and the only thing that was out of reach was the ribbon, but that's only because I keep it on a shelf next to my work space :)

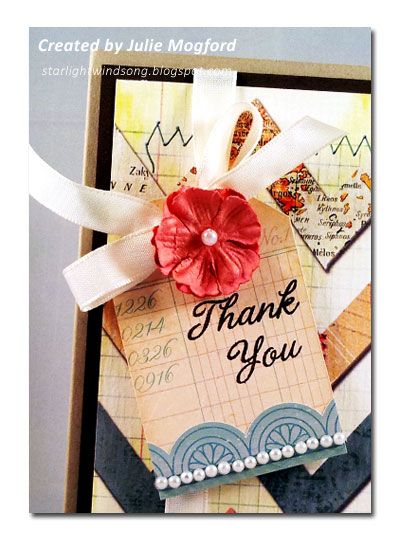
The chevron pattern was a pretty one I had been hoarding, and now was as good of a time as any to cut a piece and use it.  I also found a Crate Paper tag that was in the same muted tones as the chevrons and I thought it would be a good fit.  I used another Thank You stamp from Hero Arts.  I cut it in half and stacked the sentiment to fit the tag a little better.

This is when I got stuck - I just didn't know where to go from here and it was a bit "flat" and needed some items to set the paper off from the card base (which was going to be white, but I switched to kraft) and be flattering with the colors in the pattern paper.


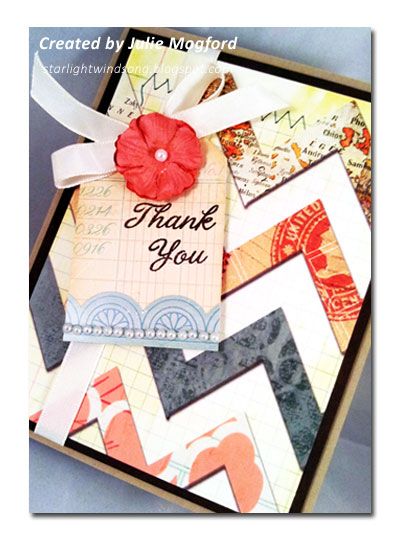
I found that I also had a sticker border sheet that was the same line as the tag I had cut, and I added this detail to the bottom, bringing out the aqua lettering.  To set off the pattern paper from the base, I added a chocolate brown cardstock from my stash.  I added the vanilla ribbon to this layer and added the tag to the ribbon.  I heard this tip from Julie Ebersole I think - instead of threading the ribbon through the tag, I snipped the tag at the top through to the hole and then attached it to the ribbon. I love how this works and I don't have to fight with the tag when tying the ribbon.  The slit is hidden under the ribbon and I used foam tape to lift it off the card and keep it in place. For some last details, I found some tiny pearls to add to the sticker border on the tag, and a Prima flower in a shade that perfectly matched the pink coral in the chevron.


Tips to remember:
1. Step away and come back to look at the card with fresh eyes.
2. Cut a slit to slip tag over ribbon after it is tied.
3. Don't be afraid to cut a stamp to make it fit your needs.


This was my first challenge in quite awhile. I liked being able to push myself more to create an even better card.  This hoarded stash of mine is definitely coming in handy.  Check my other Moxie Fab Challenge post for the Speech Bubble Challenge here.


Thanks for stopping by!
Julie


Supplies
Stamps: Thank You, Hero Arts
Ink: Stazon Timber Brown, Tsukineko
Paper:  Wayfarer "Knockabout", Bazzill; Crumb Cake, Stampin' Up!; brown cardstock from stash.
Embellishments:  "Pretty Party" tag and border stickers, Crate Paper; pearls (stash); Flower, Prima; Vanilla Taffeta Ribbon, Stampin' Up!.
Other: foam adhesive, Stampin' Up!; Cropadile, We R Memory Keepers.

Tuesday, March 26, 2013

Playing with Patterned Paper

Hello all!

I have a little card to share with you.  I just participated in one of the great classes over at Online Card Classes  called Pattern Play.


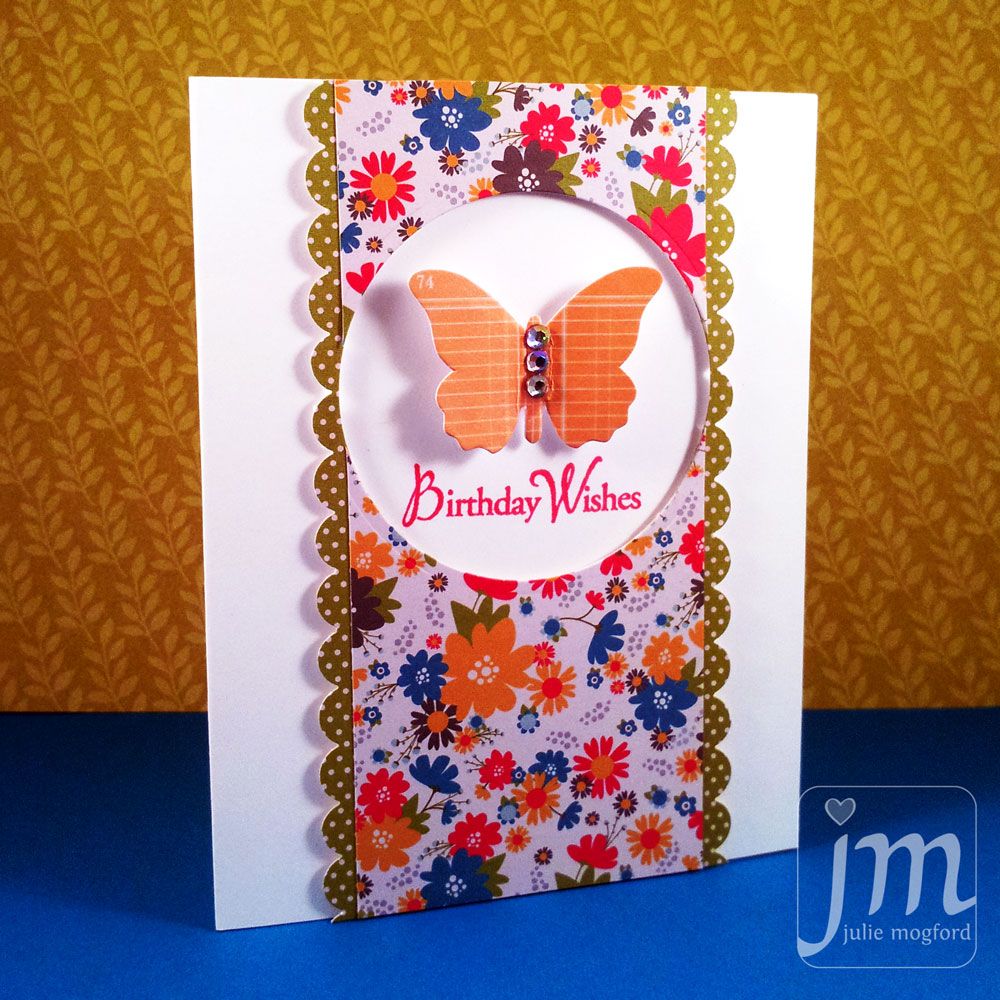
I was inspired to create this card from a layout that was demonstrated by Amber Kemp-Gerstel. Here is my version.


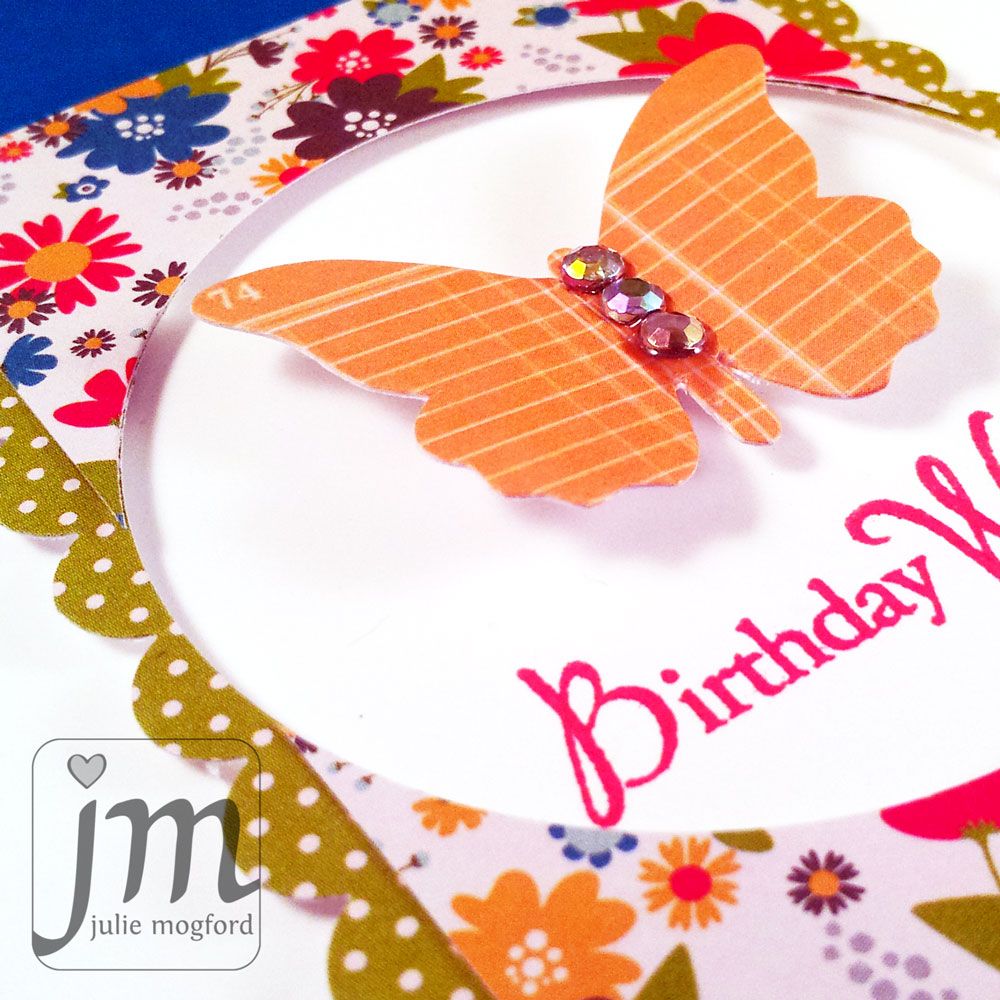
There are so many things I like about this card.  The panel with a window is something I have tried before, but this version is a bit different, especially with including the border strip.  Everything is up on foam adhesive, and I love how that accentuates the elements.


I challenged myself to use a pattern that I wouldn't normally go to.  I liked this floral, but had passed it over several times before. The green and white polka makes a good border and I looked for something to use as the central element.  I remembered I had all of my Jenni Bowlin butterfly stickers (can you believe it?) and they just happen to be the same shade of yellow as the flowers in the paper and the pattern is subtle, and almost reads as a solid. The addition of the sentiment with Barn Door red ink completed the look.  I like that it is fun, and its also a clean look.


I made this card for my Aunt Carla for her birthday and I think these colors remind me of her.  I hope she likes it!  I was amazed at how out of practice I was in making cards.  It seemed to take me forever, mainly because I look through all of my papers and embellishments.  My hoarding came in handy but also slowed my pace.  I do know this - I had fun getting back into my craft space and spending some time doing something that gives me so much enjoyment. 


Card supplies
Stamps: Hero Arts "Birthday Wishes"
Ink: Tim Holtz Distress Ink - Barn Door
Paper: Pebbles - Seen & Noted
Other: Jenni Bowlin Butterfly, Circle Nestabilities by Spellbinders
 
That's all for today.  Thanks for stopping by!
 
Julie