Pages

Showing posts with label Silhouette. Show all posts

Friday, July 19, 2013

Summer Card Camp 2 - Day 3: Cupcake Birthday Banner


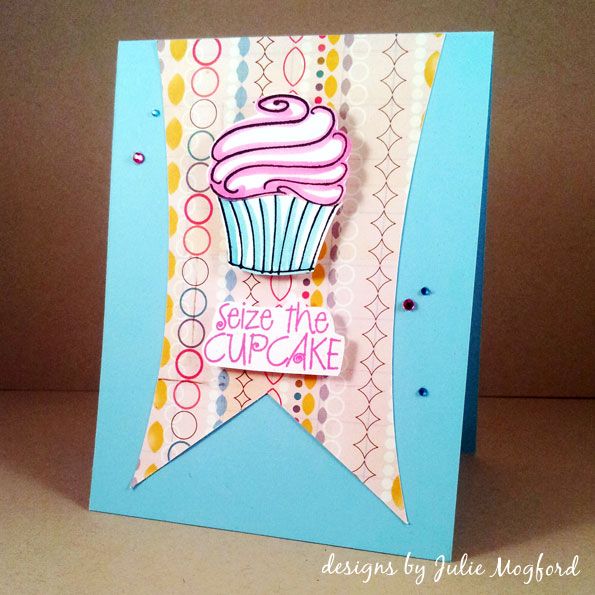
Today I have a fun birthday card based on a sketch from the Online Card Classes - Summer Card Camp 2.  It includes a rectangular banner, and I found one in my Silhouette shape library. Yea!  I wanted to use a cupcake for this card, and I found several in my stash from Hero Arts.

For your viewing pleasure:


What I love about this card: The pattern paper reminds me of paper chains my mom made last year for my sister's baby shower. The stamping is easy, and my mistakes were easily hidden. And last, but certainly not least, I love a little bling, and this time it adds to the "party" mood taking on the appearance of confetti.  Adorable!


Supplies

Stamps: Cupcake stamps and sentiment (Hero Arts), Have a delicious birthday! (Rubber Soul)
Ink: Versafine Black Onyx (Tsukineko), Distress Ink in Picked Raspberry and Tumbled Glass (Ranger)
Paper: Cardstock (Stampin' Up!), Abroad (Studio Calico)
Additional items: Aquamarker (Letraset), Banner cut (Silhouette), Scor-Pal, Tombow tape runner, Recollections foam adhesive.


Thanks for dropping by!


Julie

Wednesday, July 17, 2013

Summer Card Camp 2 - Day 2: One of a Kind Dad

Hello again!


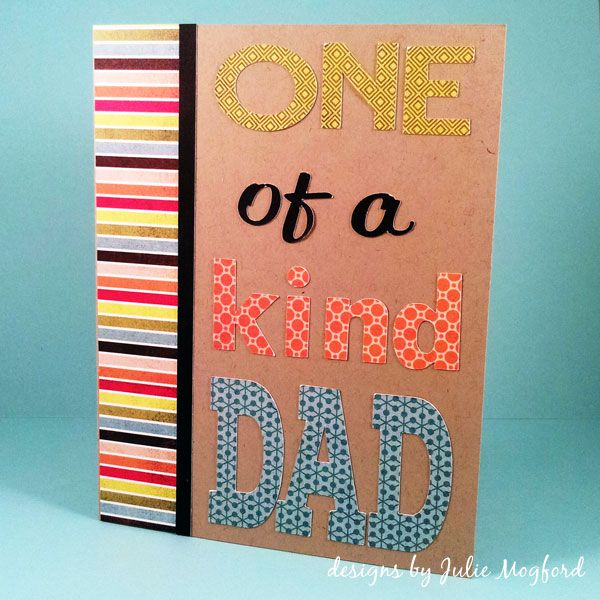
It's time for my Online Card Classes - Summer Card Camp 2 Day 2 assignment.  One of the techniques was to stamp a multi word sentiment in several colors using a masking technique.  I couldn't find a sentiment in my stash I wanted to use so, I went with my own take on this idea. I used my Silhouette Cameo to die cut the words of my sentiment in different fonts on coordinating patterned paper. Also, this card has many elements that are not part of my typical cards.

1. It's for a man - my dad :)
2. Is actually gender neutral
3. Uses lots of patterns together
4. Has 4 different fonts

The video is kinda funny.  I have edited parts to go fast, added some music over the fastest part, got some mic help from my husband (thanks Davis!) and a few flubs from getting tongue tied, but it's not too shabby!  And, it's under 10 minutes - woo hoo! :)  Enjoy!


Font List - These are sets that were either on my computer, free for personal use, or I purchased.  You can use any fonts you would like.  Also note, that some of the fonts were stretched or resized to get the shapes I wanted for my card.  That's one of the many reasons I love my Silhouette Cameo.

ONE - Edmondsans Bold
of a - Reklame Script Regular
kind - TW Cen MT Condensed Extra Bold
DAD - Nexa Slab Black


What I love about this card: It is bold and fun and it is easily modified with any sentiment you want, lady or gent.  You could also use several different sets of letter stickers to create a similar look.  The possibilities are endless!  I gotta remember to do this one again!  Makes me happy :)


Supplies

Paper: Crumb Cake Cardstock (Stampin' Up!), Off Beat and Urban Paperie (Basic Grey)
Additional items: Font die cuts (Silhouette), Scor-Pal, Tombow tape runner and Mono Multi Liquid Adhesive, Fiskars cutter


Ok, so what are you waiting for?  Time to get creative!!!
See ya next time,

Julie

Monday, July 15, 2013

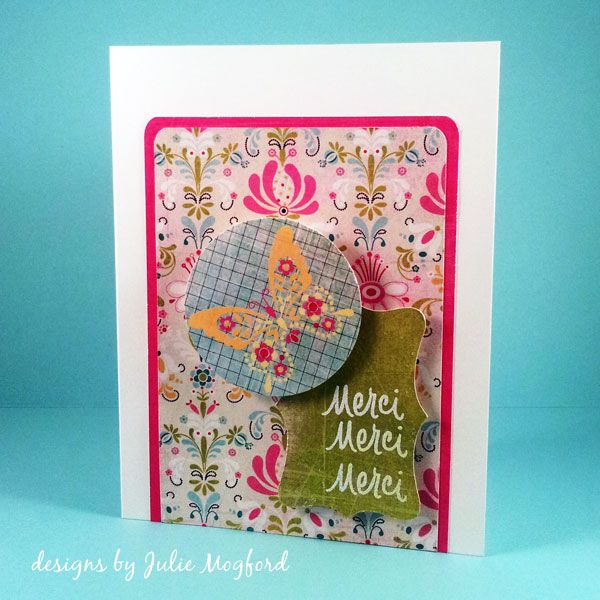
Summer Card Camp 2 - Day 1: Merci

Hello all!

Many of you know that I'm a teacher, and we teachers really look forward to our summers!  Well, this year, my summer has only just begun, but what better way to get it started than with a card class. I spent the weekend catching up, but I am nearly back on track.  I will be posting several times over the next few days - I have so much to share :)


In the Online Card Classes - Summer Card Camp 2, Kristina Werner and Jennifer McGuire (and friends) prepare various color combos, sketches and techniques to share and we get to jump in and share our craftiness.

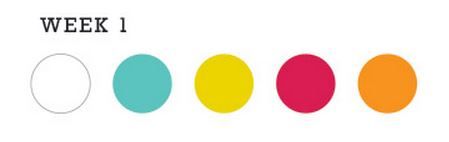
Our color combo this week:


I made a video of my session.  Take a look:


It was fun to play with this color combo and the sketch.  I tend to hoard all of my pretty papers, especially my Basic Grey papers, but I'm letting loose and trying to use all the pretty things.  And, once I use those up, I'll buy MORE pretty things. LOL.


I'm a little out of practice, but not too bad.  :)


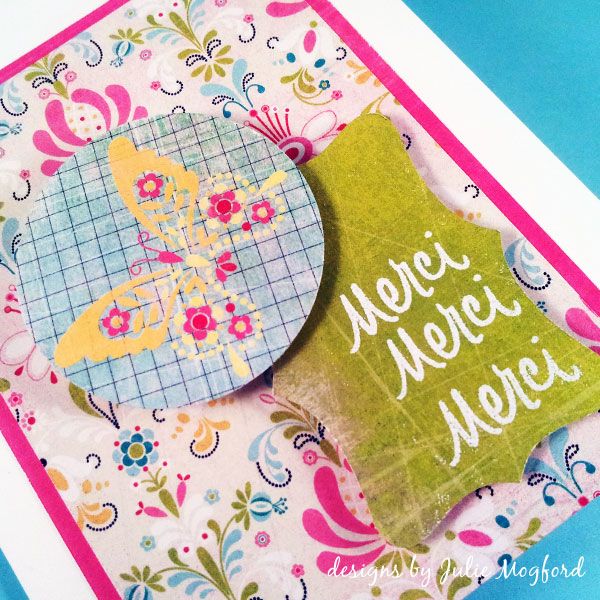
One last close up...


Supplies

Stamps: M is for - Merci (Hero Arts)
Ink: Versamark (Tsukineko)
Paper: Whisper White Cardstock (Stampin' Up!), Urban Prairie (Basic Grey)
Additional items: 2" punch (Marvy), Whisper White Embossing Powder (SU!), Banner cut (Silhouette), Scor-Pal, Tombow tape runner, Recollections foam adhesive.


Thanks for dropping by!


Julie

Saturday, May 11, 2013

Album Cover Pages

Hello everyone,

Tonight, while I root on the Spurs (GoSpursGo!!) I am posting two 12x12 layouts I created for my 2013 album.  After getting some advice from my friend Shay, and looking at what several designers have created online, I decided to keep one album that contains my Project Life pages as well as my One Little Word pages.  These layouts are the "title" layout to each of these projects. 


Let's start with Project Life!


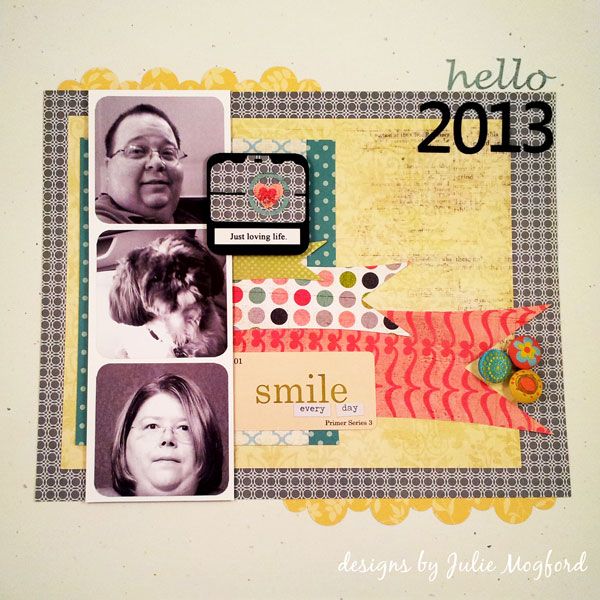
My layout was inspired by this one I found on Pinterest from the Crate Paper blog. I wanted two show a pic of my husband, my dog and me in a filmstrip style layout and then add color with all of the banner strips and embellishments.


Silhouette - I love you!
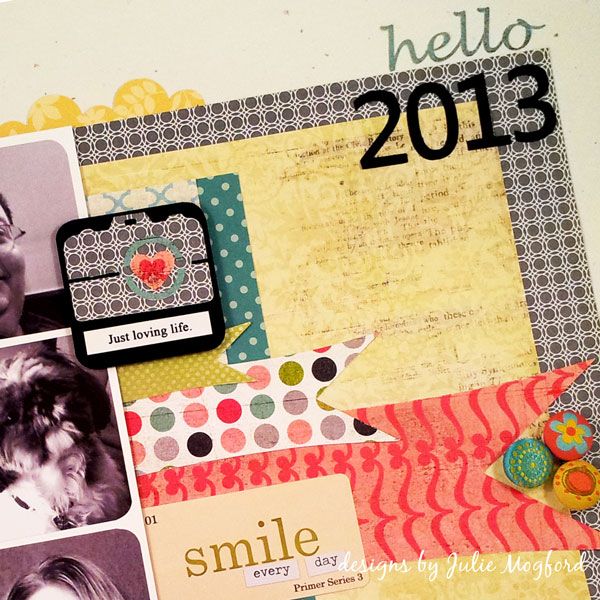
I used the same banner strip over and over again, just resized, in several different Basic Grey designs.  I also wanted a camera image and cut this one from a camera image downloaded from the Silhouette store.  I made the yellow scalloped border design using the Silhouette software and cut the "hello 2013" as well. My little Walter looks cute peaking in there on the left! 

Supply List:
Paper: Basic Grey Olivia (Amelia side B, McKinley, Brianna A & B), Pink Paislee Vintage Moon (Full Moon), Studio Calico (Take Note), Pebbles (Seen &Noted), Stampin' Up! (Black cardstock, Confetti White cardstock, grey geometric design and yellow floral).
Embellishments: Jenni Bowlin (Playful Hodge Podge Stickers), Memory Box (green and lavender polka), Tim Holtz (Chit Chat Verbiages Charla), Creative Imaginations "Narratives", and The Paper Studio designer brads.


Now let's look at OLW


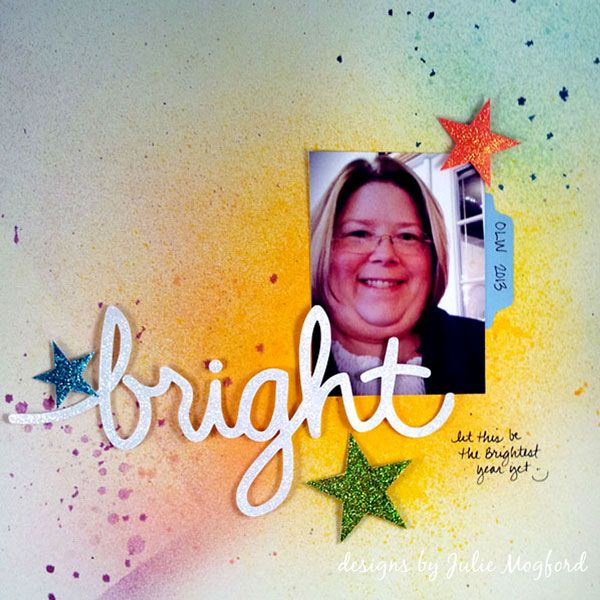
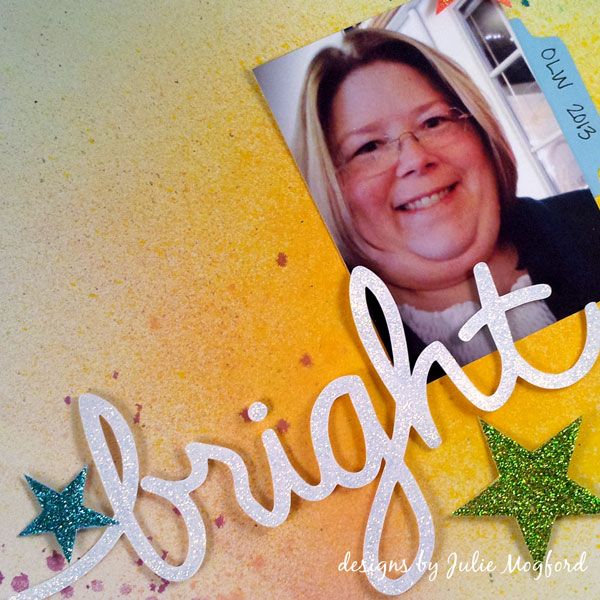
I loved this page by Jen Jockisch and used it as a partial inspiration for my layout, not because of the title, but just how it had a single photo and a cursive title.  My word of the year is BRIGHT and I created a brush in Illustrator of my handwriting to use on these cards I created from the January assignment. I used the same image in my Silhouette software to cut out the same handwritten BRIGHT for the title.


Silhouette - I really really love you!!
 
I wanted a very simple background so I misted several colors of spray in bright colors to give a nice backdrop to the white title.  I also cut out the three stars with the Silhouette and coated all of my cut outs in stickles *sigh*.
 
Supplies:
Ink: Dylusions Sprays (Vibrant Turquoise, Pure Sunshine), Tattered Angels (Vintage Pink, Cranberry Zing, Trunk Bay, Sun Sisters).
Paper: Colored cardstock from stash and background was sprayed on Confetti White SU!
Embellishments: Stickles (Fruit Punch, Aqua, Lime Green and Diamond).
 
I've been away from scrapbooking for a very long time, and things are very different now.  I always felt free to create what I wanted and was using all the right tools to achieve the look I wanted, but now, it's a whole new world, and I am loving it!


Have a great weekend and Happy Mother's Day!
 
Julie