Pages

Showing posts with label Project Life. Show all posts

Saturday, November 23, 2013

Winnie & Walter - The Daily Grind Collection, Vol. 1

I've been away for awhile, but have been VERY busy!!!  I should say that Shay and I have been very busy with Winnie & Walter!  Today, I'm happy to share with you our first digital products.

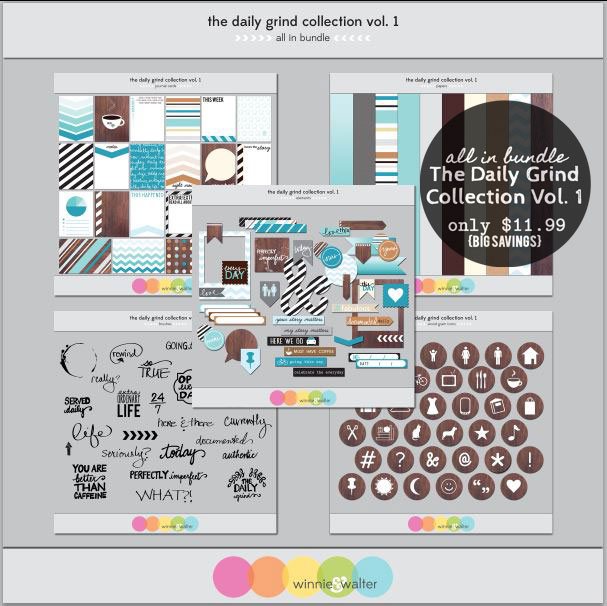
Winnie & Walter present The Daily Grind Collection, Vol. 1

The Collection consists of Journal Cards, Wood Grain circle icons, Elements, Brushes, and Papers created to be used both digitally or as printed elements!


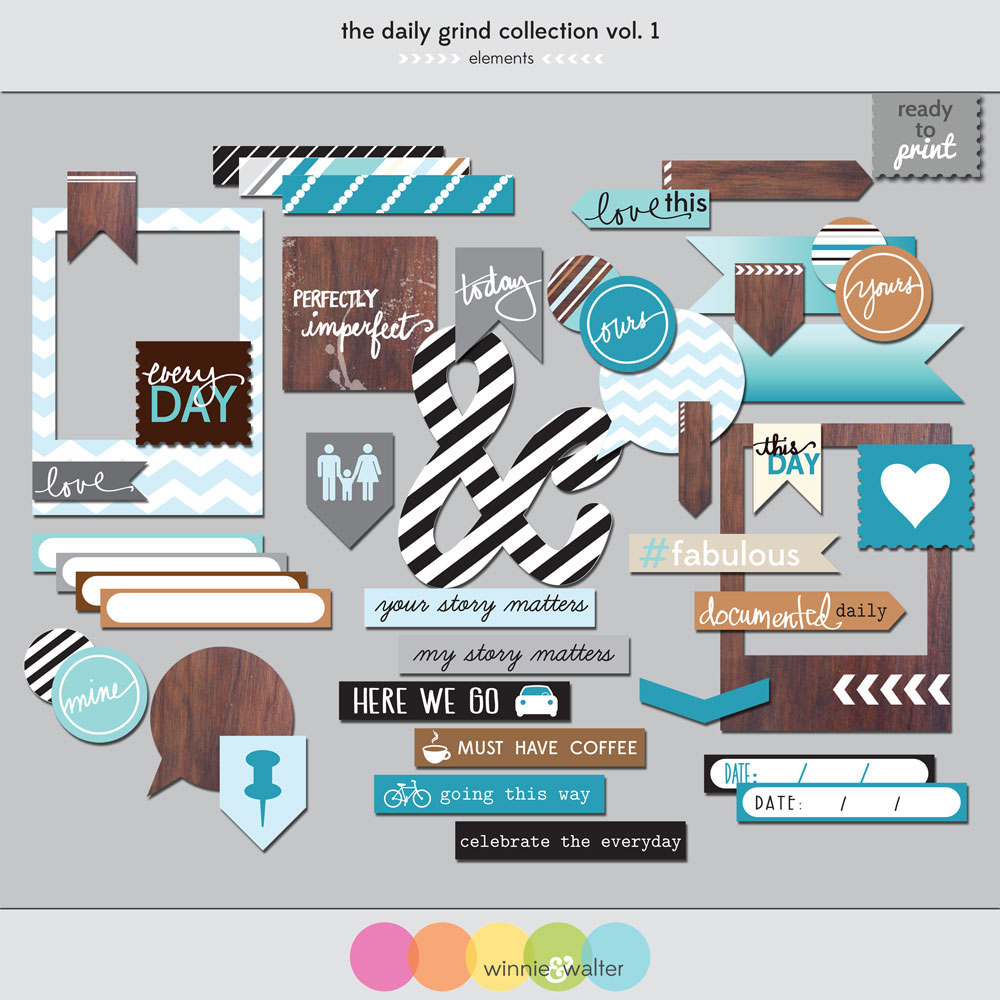
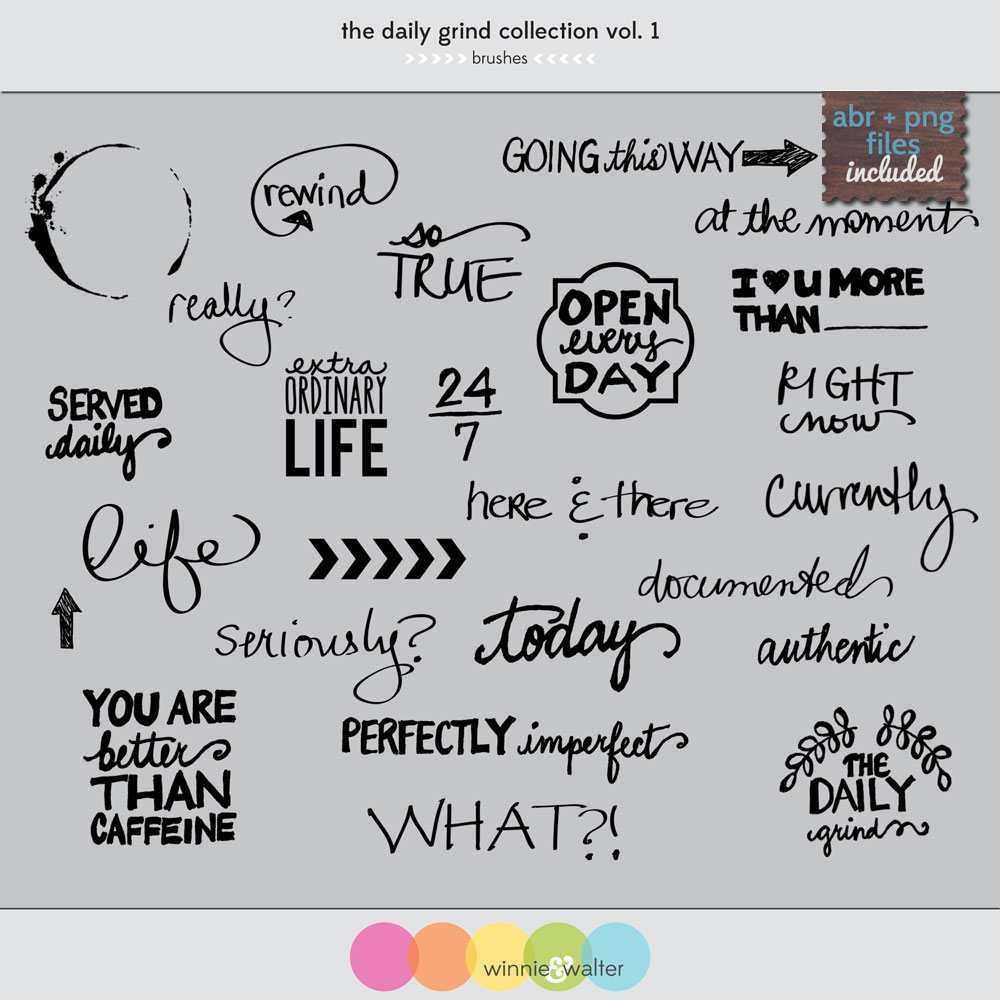


I think what I like most about this collection is the color palette and its versatility.  I can use the elements easily with other things that are already in my stash - and you know I've got quite a lot in my stash.  And, if that wasn't enough, you can get all of these at a reduced price by buying the "All In" Bundle!


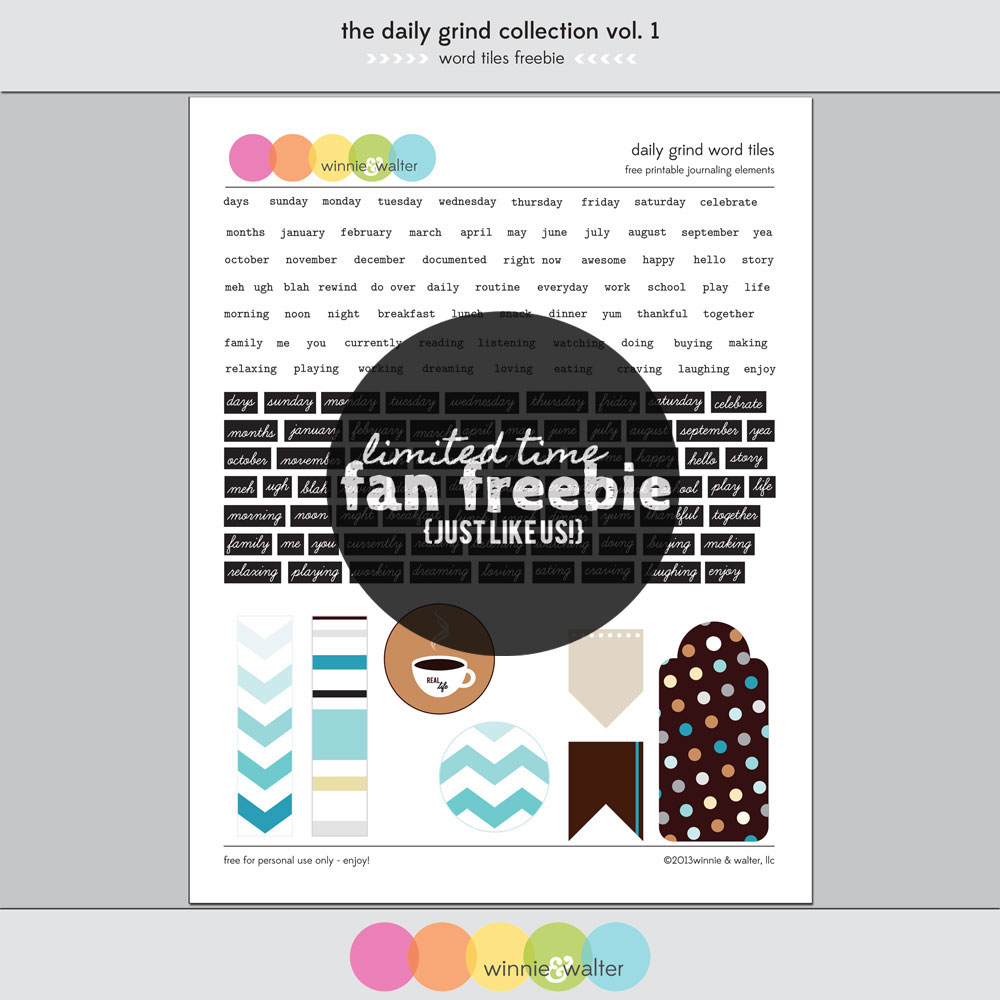
And - if you like us on Facebook, then you can get this fun, coordinating Word Tiles Freebie ...

and if you didn't pick up our last freebie, Live Laugh Love, you will find it in the Fan Freebie area of our Facebook page too!  Double Freebie Goodness!!!!


Check out project samples from Shay using the Live Laugh Love freebie.

You can find my samples projects for Live Laugh Love here and here.

Shay has some wonderful creations on the Winnie & Walter blog using The Daily Grind Collection, Vol. 1

It was so fun to actually get a chance to make some projects with this collection after working on the designs.  Here are a few things that I made using the printable PDFs.

jmog_ww_dg_loveyou3-WEBcredit

I was really wanting to use the chevron Polaroid element and the love tab in an unexpected way.

jmog_ww_dg_loveyou2-WEBcredit

I was digging in my stash and found this package from K&Company of fabric flowers and buttons and thought it would be cute on a card as the focal image.  I used foam tape to put the Polaroid frame on the card and then added each layer of the flowers and topped it off with a bejeweled button.  So pretty!  I thought that the love tab would be cute as part of the full sentiment so I added the "you" with these yellow thickers!  Fun Fun FUN!  This card has dimension without being too bulky.


jmog_ww_dg_urfab1-WEBcredit

On this card I wanted to use several of the patterns altogether plus another text strip for the sentiment. I have seen Kristina Werner do this technique several times and I really like it, but I haven't tried it in a long time.  I cut strips in different widths from the patterns included with the journal cards and glued them down side by side on a strip of cardstock and then trimmed to clean up the edges.


jmog_ww_dg_urfab3-WEBcredit

I love the #fabulous sentiment and thought using u and r would be a perfect finish in the bold white Thickers on the chocolate chip cardstock.  I am a little late to the sequin trend, but better late than never.  Shay gifted me several colors of sequins and this felt like a great place to add a little sequin sparkle.

I've been wanting to try my hand at Project Life with digital elements, so I used the various papers, elements, journal cards and brushes to create these layouts. I used the templates (now from the Digital Project Life store) made by Becky Higgins that I first in the Jessica Sprague shop.

jmog_ww_dg_pl1

Journaling: features fonts Zephyr, Statuesque and Notebook by Karla Dudley - love these!
Top row: Grey cardstock, Large chevron circle from the Facebook Freebie (see above), circle elements resized, "currently" and arrow brush. Element strips and postage heart.
Middle row: Kraft cardstock, coffee ring and caffeine sentiment brushes.
Bottom row: More kraft, wood grain icon coffee, striped ampersand.


jmog_ww_dg_pl2

Journaling: More Karla Dudley and Segoe print.
Top row: I typed the date in between the stripes of the 6x4 journal card. Love how this turned out. Days of the week from the Facebook Freebie, date strip from the elements and "seriously?" brush in white with a shadow.
Middle row: Graph paper, currently and teal daily text journal card. Extra ordinary life brush in teal, plus various wood grain icon circles to match journaling.
Bottom row:  I {heart} u more than brush in white with text added.  Photo collage created with PicMonkey - so easy.  The celebrate the everyday sentiment is a single strip, but I cut it apart in photoshop using the rectangle select tool to fit it in the space.

I was cracking myself up on some of these - my faves are the " 'sup" speech bubble for Walter and the Starbucks journaling for Davis. Makes me happy!!! :)

Be sure to check out the Winnie & Walter Blog for more details about The Daily Grind Collection, Vol. 1.  If you like to get the scoop on deals and upcoming products, you can sign up for the newsletter right on our blog.  Want to get this kit now?  Visit us at www.winniewalter.com !

Here are a few other places you can find us: Flickr, Twitter, Instagram, and Pinterest!    I think Winnie and Walter are really enjoying all of the attention they are getting lately!

GIVEAWAY
One more thing going on at the blog right now - sign up to win the whole collection!  Don't you just love free stuff???

Thanks for stopping by!  Happy creating!

Julie

All projects feature The Daily Grind Collection, Vol. 1 by Winnie & Walter.

love you card:
flower elements and button by K&Company, Thickers by American Crafts, pink ribbon by Stampin' Up!, Neenah Solar White cardstock, foam tape, 3 in 1 glue by Beacon, Mono Multi Liquid Glue by Tombow.

u r #fabulous:
chocolate chip cardstock by Stampin' Up!, Thickers by American Crafts, sequins, foam tape, Mono Multi Liquid Glue by Tombow.

project life - nov 4-10 and nov 11- 17 layouts: Karla Dudley fonts, Pic Monkey, Photoshop Elements, Becky Higgins digital templates

Friday, August 23, 2013

Big Announcement!!! W&W

Hi everyone!

Today is a very special day for me, and for my friend Shay.   We are excited to present to you...


Winnie & Walter will be an online store hosting craft related products by the dynamic creative duo of J.E.R.Shay and Julie Mogford.

And, what would a Big Announcement be without a little something from us to you?  Today, we have a free --- yes, I said FREE --- printable (for your personal use) available for download.  This is a 2 page PDF that includes 4 - 3x4 journaling cards, 9 circle elements, and 5 coordinating items for your favorite crafting projects.  These elements are perfect for projects like card making, scrapbooking, Project Life, mini books, and more. 

Live Laugh Love printable:


Like us on Facebook to get your copy of the Live Laugh Love Freebie!


Need ideas?  Just check out Shay's creations using these little freebies, and my Project Life pages below.  Ok, I have to let you know that I did get a little carried away, and used all of the elements in this 2 page spread except for the THANKS.  But, be looking for that to show up on the blog in the near future.


As for my Project Life pages, the first week didn't have many pictures, so the extra journaling cards were very handy to fill in spaces with bright colors and fun designs.  I was able to use a couple of circle tags on this page, but I actually cut them in half.  The first one is on the top left pocket where the word date is used on the bottom edge and the rest of the circle is used on the top edge, and I added a cute heart sticker from Studio Calico. I also cut the "hello" circle in half and tucked it behind the Monday word strip.  I used the 7gypsies pocket to hold some private journaling, but decided to put a quote I found on pinterest recently, on the quotations journal card - the quote really spoke to me right now.  Love Love Love how the arrow shapes work on the bottom two pockets: multicolor chevron pointing to my DH and the "love this" pointing to my guilty pleasure - PROJECT RUNWAY!


 On page 2, I had to get choosy with my photos, and dear sweet Kamilla won out again!  I used the spiral journal card to share some of my favorite moments from the weekend and then added the note and date circles.  I wanted to journal a bit more about Kamilla, so I fashioned another card from the Seen and Noted 6x6 paper pack by Pebbles and the colors worked great with the TODAY, love and heart elements.  I liked using the Live Laugh and Love elements to draw your eye through the page, and connect them to help tell the story.  Using the heart and ampersand worked well with the love circle, and helped to fill the empty corner of the photo.  The navy "This makes me happy" arrow that is pointing to the bouncer is no joke - I watched her bounce for hours and she was so content, and I just sat back and watched her - true happiness!!


I really like how this set turned out and love all of the possibilities it provides.  And, there is much more where that came from.  Be sure to visit us often by following this blog and Shay's blog for more to come from Winnie & Walter! Enjoy!!!


Tip: If you wish to adjust the colors of the printables, I recommend using Photoshop or Photoshop Elements.  In Photoshop Elements under Enhance pick Adjust Color and then Adjust Hue/Saturation.  You can use the bars to adjust the hue, saturation and lightness as you desire.  For more information you can check out this simple tutorial: http://www.twopeasinabucket.com/cg_display.asp?g=4&seed_id=22398

We would be thrilled to see how you used the elements in your projects, so feel free to comment with a link!

Happy Creating!!!

Julie


Supplies
Stamps: Studio Calico stamps
Ink: Clear Snap Chalk Ink - Lime Peel
Paper: Seen & Noted by Pebbles, Clippings by Basic Grey
Embellishments: American Crafts Thickers "Flat" and "Rockabye", and rubons "Ned Jr", Basic Grey Urban Letters (&), Studio Calico hearts and arrows stickers
Other: Fiskars border punch, Stampin' Write Marker by SU!, Sakura Glaze pen, 7Gypsies Pocket

Thursday, May 16, 2013

Project Life - Week 1 & 2

Happy Thursday Everybody!

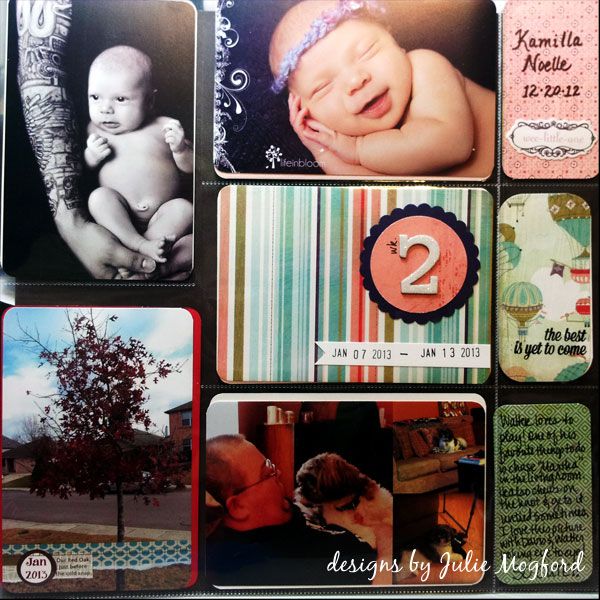
Today, I am sharing my first two weeks of Project Life pages.  These have been done for awhile, but I am just now getting them up on the blog.  I really like using the pocket page style of scrapbooking.  Sometimes a 12x12 page can feel a little intimidating or for me, I can never decide on a layout or sizes for my photos. I chose some pocket pages designed for Project Life, and some from American Crafts.  I think what I like about the pockets are that it is like making several mini pages, and sometimes that is really fun, and also I like that this format feels like "anything goes".  My approach to traditional scrapbooking was always a strange "perfection" issue - the page needed to be PERFECT and if it wasn't I was disappointed.  Now, the pictures and memories come first, and the pressure is off for how perfect the page needs to be.  I also like that as your eye travels around the page, there are so many different moments and you can tell so many more stories in the same amount of space.  Am I going on and on?  Well, maybe a little, but I really like it - what can I say?

As for using the Project Life kits - I actually haven't bought any, although they are so great!  I just chose to use this opportunity to dive into all of the fabulous scrapbooking paper I have been hoarding all of this time.  FUN!!!! One more thing - I am deciding as I go through the year if the week should be a 1 page or 2 page layout.  Right now, these are just 1 week for a 12x12. This was plenty for me.

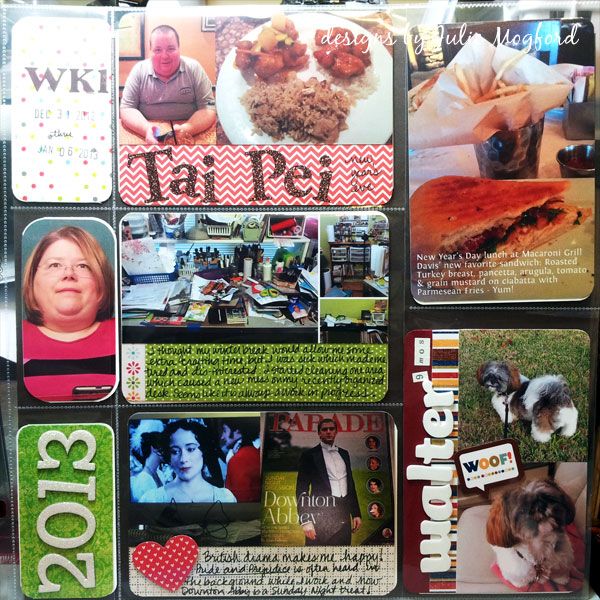
OK - here we go - take a look at Week 1


Here are some of my favorites from this week:
 
 
2013 in White Glitter Thickers


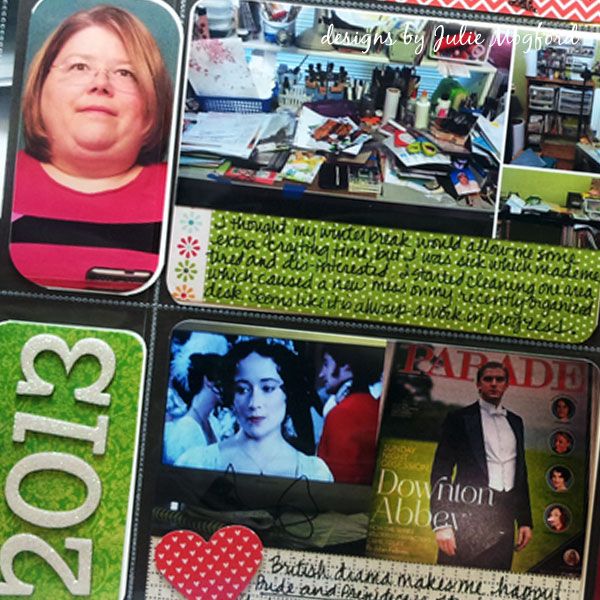
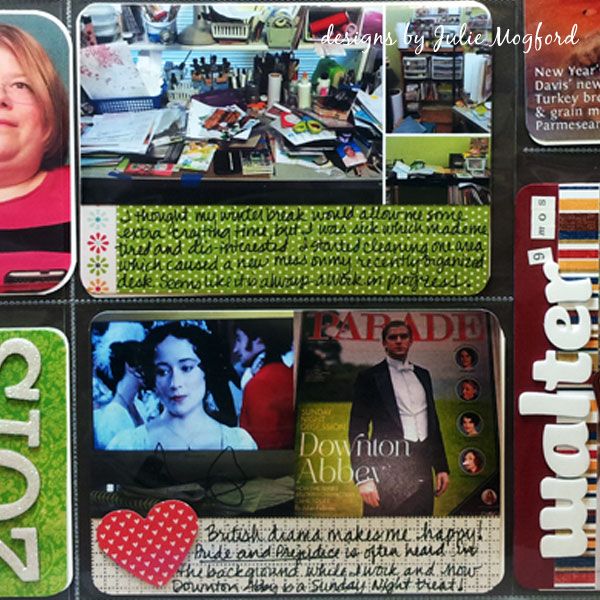
Pictures of my craft space and my British Entertainment!


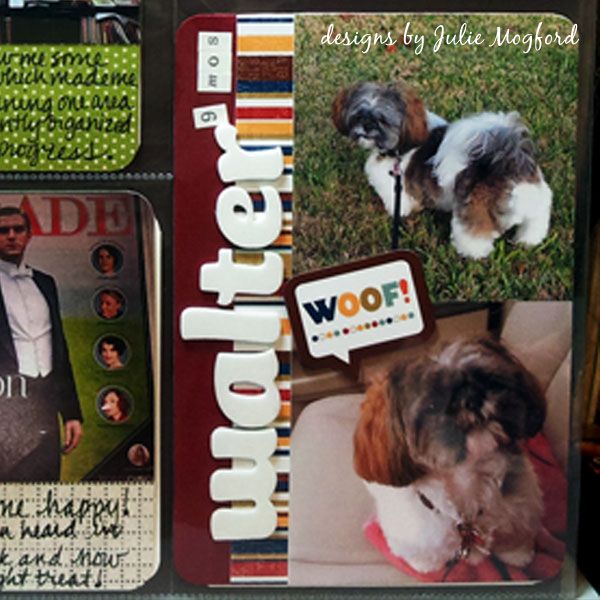
My little Walter - just 9 months old in this pic.  I love the Echo Park paper here!
 
 
Now, for Week 2


Here are some favorite moments:
 
 
Digital journaling on top of Splendid Fiins "Brilliant Border Bits".  Fun!
Plus, my two guys :) [you can find other designs for Splendid Fiins here]


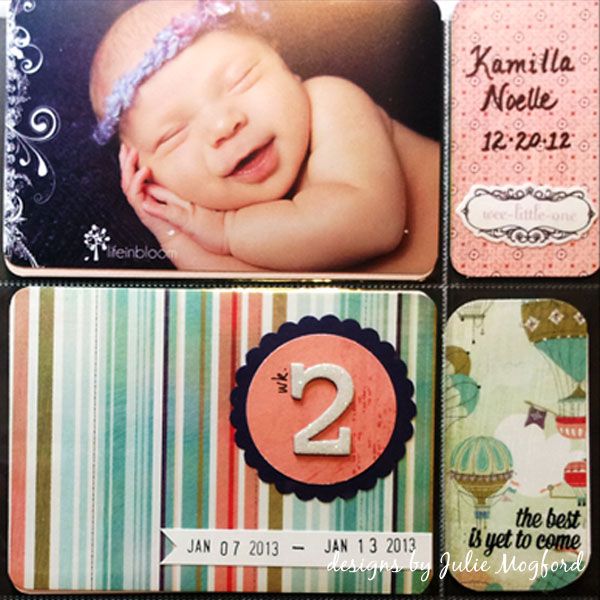
Adding a digital brush to my neice's photo - so pretty.  Finding a stash of baby embellishments (Wee Little One - BasicGrey).  I wrote Kamilla's name with a calligraphy pen (PITT). More BG papers for the wk2 pocket and the hot air balloons, and "the best is yet to come" sentiment fits so nicely (from Studio Calico). I love how this all works together.


If you aren't into scrapbooking in the traditional sense of the word, you may really like this method for a fast way to get 4x6 photos into an album and off of your camera where everyone can enjoy them.  Plus, I like remembering the everyday moments too.  Great way to tell your story! Fun Fun Fun! 

Thanks for stopping by!

Julie

Wk 1 Layout:
Paper: Echo Park and Pebbles (Seen and Noted)
Stickers: American Crafts Thickers, BasicGrey sticker letters, glitter sticker letters

Wk 2 Layout:
Paper: BasicGrey "What's Up?
Stickers: American Crafts Thickers
Digital: Splendid Fiins Brilliant Border Bits, Rhonna Farrer swirl brushes
Stamp: Studio Calico
Ink: Memories Ink (Stewart Superior)

Saturday, May 11, 2013

Album Cover Pages

Hello everyone,

Tonight, while I root on the Spurs (GoSpursGo!!) I am posting two 12x12 layouts I created for my 2013 album.  After getting some advice from my friend Shay, and looking at what several designers have created online, I decided to keep one album that contains my Project Life pages as well as my One Little Word pages.  These layouts are the "title" layout to each of these projects. 


Let's start with Project Life!


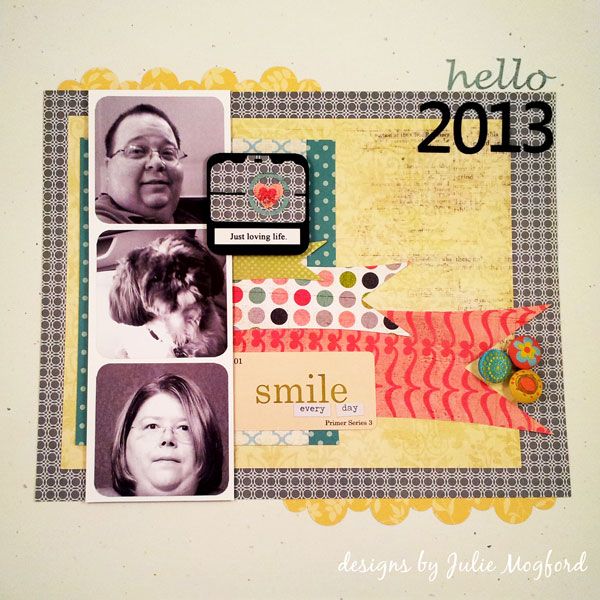
My layout was inspired by this one I found on Pinterest from the Crate Paper blog. I wanted two show a pic of my husband, my dog and me in a filmstrip style layout and then add color with all of the banner strips and embellishments.


Silhouette - I love you!
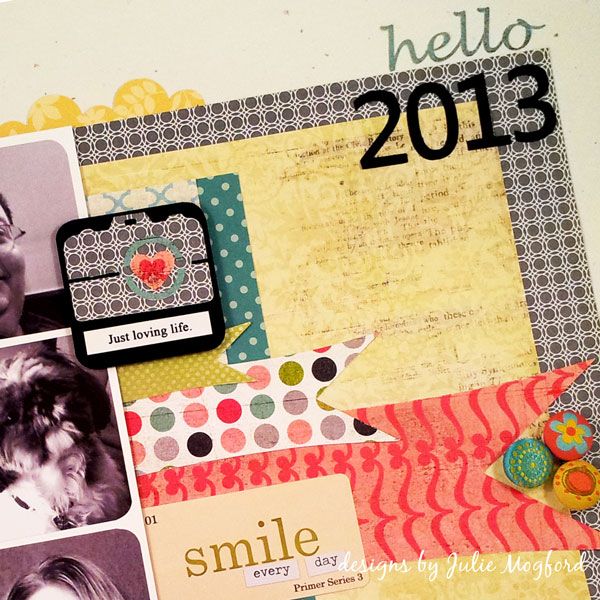
I used the same banner strip over and over again, just resized, in several different Basic Grey designs.  I also wanted a camera image and cut this one from a camera image downloaded from the Silhouette store.  I made the yellow scalloped border design using the Silhouette software and cut the "hello 2013" as well. My little Walter looks cute peaking in there on the left! 

Supply List:
Paper: Basic Grey Olivia (Amelia side B, McKinley, Brianna A & B), Pink Paislee Vintage Moon (Full Moon), Studio Calico (Take Note), Pebbles (Seen &Noted), Stampin' Up! (Black cardstock, Confetti White cardstock, grey geometric design and yellow floral).
Embellishments: Jenni Bowlin (Playful Hodge Podge Stickers), Memory Box (green and lavender polka), Tim Holtz (Chit Chat Verbiages Charla), Creative Imaginations "Narratives", and The Paper Studio designer brads.


Now let's look at OLW


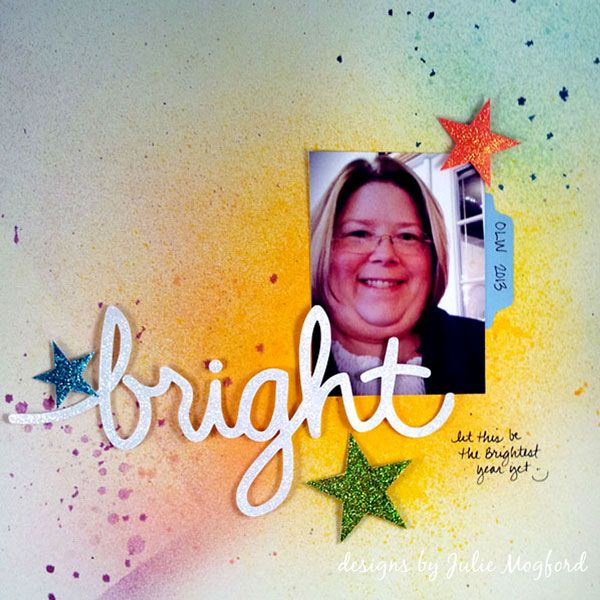
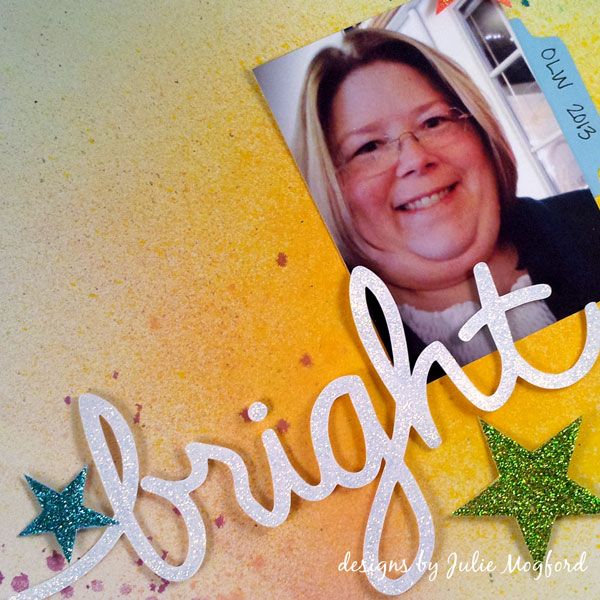
I loved this page by Jen Jockisch and used it as a partial inspiration for my layout, not because of the title, but just how it had a single photo and a cursive title.  My word of the year is BRIGHT and I created a brush in Illustrator of my handwriting to use on these cards I created from the January assignment. I used the same image in my Silhouette software to cut out the same handwritten BRIGHT for the title.


Silhouette - I really really love you!!
 
I wanted a very simple background so I misted several colors of spray in bright colors to give a nice backdrop to the white title.  I also cut out the three stars with the Silhouette and coated all of my cut outs in stickles *sigh*.
 
Supplies:
Ink: Dylusions Sprays (Vibrant Turquoise, Pure Sunshine), Tattered Angels (Vintage Pink, Cranberry Zing, Trunk Bay, Sun Sisters).
Paper: Colored cardstock from stash and background was sprayed on Confetti White SU!
Embellishments: Stickles (Fruit Punch, Aqua, Lime Green and Diamond).
 
I've been away from scrapbooking for a very long time, and things are very different now.  I always felt free to create what I wanted and was using all the right tools to achieve the look I wanted, but now, it's a whole new world, and I am loving it!


Have a great weekend and Happy Mother's Day!
 
Julie